AI room-presence sensor
A small mmWave radar on an ESP32 that tells Home Assistant whether a room is occupied, even when you are sitting still. Built with ESPHome, no camera required.
Safety first
- This is a low-voltage USB-powered project. No mains wiring inside the sensor box.
- Do not aim a radar sensor into a neighbor's space or a bathroom in a way that surprises people who live with you. Talk to your household first.
- If you later add a 120 V outlet or a mains relay, stop and treat that as a separate, electrician-level job.
Rules and laws
- mmWave modules sold for hobby use are generally unlicensed at low power, but you must use a module that is legal to operate in your country.
- Occupancy data is still household data. Do not log or publish it in a way that tracks people without their knowledge.
Parts
| Part | Qty | Approx. each | Subtotal |
|---|---|---|---|
| Espressif ESP32-DevKitC-32E (DevKitC V4) development boardThis project stays on the 38-pin DevKitC V4. A XIAO / ESP32-C3 is smaller, but we are not switching the board here. Existing C3 cases will not fit this board. Official Espressif 38-pin DevKitC V4 with ESP32-WROOM-32E (4 MB). Micro-USB port, not USB-C. Buy only the official 38-pin Micro-USB board, not a USB-C or 30-pin clone. Primary listing: Mouser 356-ESP32-DEVKITC32E, $10.20, 1,701 in stock on Nov 12, 2026, per Findchips (https://www.findchips.com/search/ESP32-DEVKITC-32E). The Mouser US page itself returned 403 to a direct fetch, so click-confirm the US storefront before you order. Mouser Netherlands listed 1,622 in stock at €8.60 the same day. Do not use DigiKey as the default today (search snippets showed 0 in stock / long lead time). Official Amazon listing https://www.amazon.com/dp/B09MQJWQN2 was still unavailable; use it if it returns. Amazon search for the official board: https://www.amazon.com/s?k=ESP32-DevKitC-32E. Adafruit #3269 remains $15.00 and was out of stock (https://www.adafruit.com/product/3269). Typical $10-16.Mouser · price seen on 2026-11-12 | 1 | $10.20 | $10.20 |
| HLK-LD2410C 24 GHz mmWave presence sensorTypical $4-$9 each (or see pack note). ASIN confirmed for a 2-pack listing. Typical $8-16 a pack. Confirm 5 V vs 3.3 V on your module.Amazon | 1 | $6 | $6 |
| USB cable and a 5 V USB adapter for a wall installTypical $5-10, no verified link.Amazon (search) | 1 | $6 | $6 |
| 40-pin 20 cm female-to-female jumper wiresTypical $5-$7 each (or see pack note). ASIN confirmed. Typical $5-7 for a 40-wire pack.Amazon | 1 | $5.50 | $5.50 |
| Estimated total (parts only) | $27.70 | ||
Typical US prices, checked 2026-11-12. Prices change and multi-packs are often cheaper per piece.
As an Amazon Associate I earn from qualifying purchases. Prices change; check the store.
Filament
PLA (1.75 mm): about 30 g (10.1 m), roughly 2 h of printing.
PLA, 0.2 mm layers, 15-20% infill, 2 walls, usually no supports for a simple vented box. Do not bury the radar behind thick solid plastic or metal.
AI agents you'll use
- ESPHome helper (ChatGPT, Claude, Gemini or Grok): Drafts an ESPHome YAML file for an LD2410-class sensor on an ESP32 and tells you to confirm pin and voltage details against the official ESPHome docs and your module silkscreen.
- Placement helper: Helps you think through mounting height, aiming, and why a metal case or a thick front wall will hide the radar.
Tools
- 3D printer or a small project box
- Computer with USB
- USB data cable
- Optional soldering iron if your module has no pins
What you'll learn
- Flashing ESPHome to an ESP32
- Connecting an LD2410-class mmWave sensor over UART
- Adding the sensor to Home Assistant
- Why radar presence is different from a PIR motion sensor
A PIR motion sensor goes quiet when you sit still. A mmWave presence module can keep reporting that the room is occupied, which is useful for lights and heating. This project uses an LD2410-class module, an ESP32, ESPHome, and Home Assistant - no camera and no cloud account required.
What you'll build
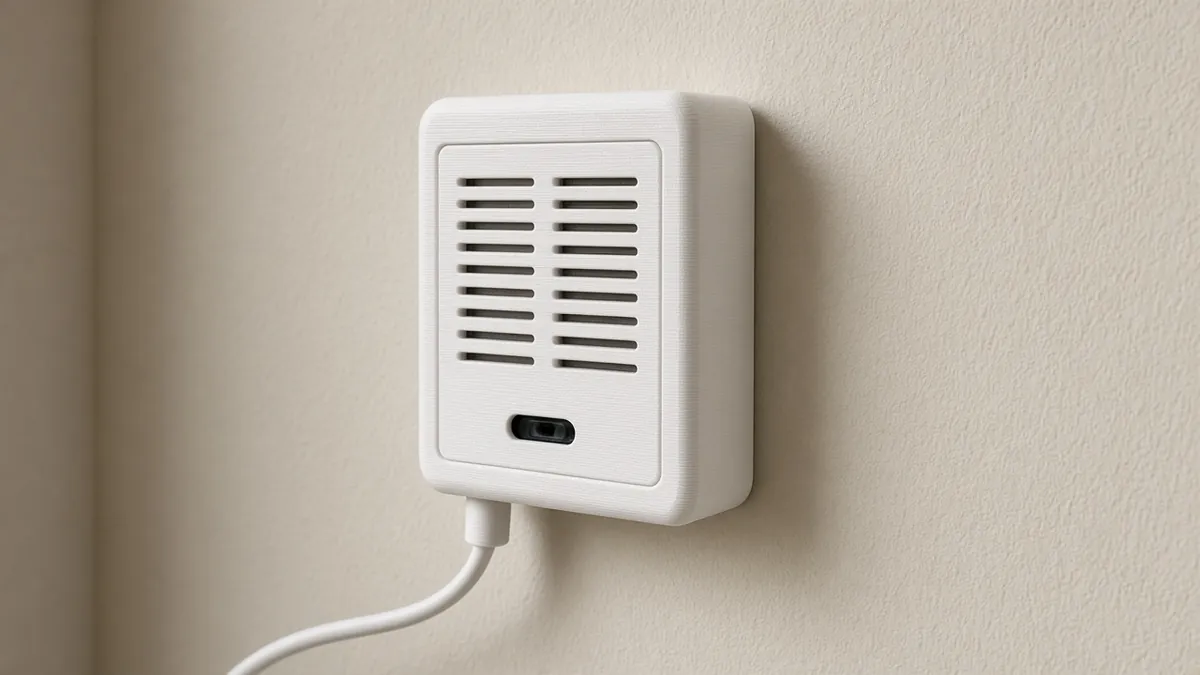
A small printed (or project-box) sensor, powered by USB, on your home Wi-Fi, with an occupancy entity in Home Assistant. Typical size is a few centimeters on a side.
Print the parts
Do not use a XIAO or ESP32-C3 case — those files will not fit the 38-pin DevKitC V4 (about 55.3 × 28 mm). In particular, do not download Printables 1101905 (LD2410C + ESP32-C3 case); it is cut for the smaller board and was intentionally left unlinked. This project is not in the first five-enclosure pilot, so there is no official AiMeBro case for the DevKitC yet. Use a plastic project box large enough for the DevKitC and the LD2410C, with the radar face open or behind a thin plastic window, or design your own vented box to the official DevKitC V4 drawing. Avoid metal lids.
Wiring
Confirm UART pins and voltage on your exact module. The HLK-LD2410C module takes 5 V on VCC (its datasheet allows 5-12 V, 5 V advised), while its UART and OUT pins are 3.3 V.
| From (LD2410-class module) | To (ESP32-WROOM DevKit, example) |
|---|---|
| VCC | 5 V (the HLK-LD2410C is specified for 5 V; use 3.3 V only if your breakout is clearly labeled for 3.3 V) |
| GND | GND |
| TX | A UART RX pin, for example GPIO 16 |
| RX | A UART TX pin, for example GPIO 17 |
| Out / other pins | Only if your module docs say to use them; the UART path is enough for ESPHome's LD2410 component |
Do not assume 5 V UART. If the module's TX is 5 V, do not feed it into an ESP32 pin.
Step-by-step
- Install ESPHome (the official docs show the current method, including the Home Assistant add-on if you use that).
- Wire the module on a breadboard first, with a common ground and the correct VCC.
- Ask the ESPHome helper for a YAML draft, then compare every pin and the
ld2410(or current) component name against https://esphome.io/ before you flash. - Flash the ESP32, confirm the device appears in ESPHome, and watch raw presence values change when you walk in and sit still.
- Add the device to Home Assistant and create a simple automation (a light or a notification) that uses the occupancy entity.
- Print or close the case, mount it with a view of the room, and retune distance/sensitivity in the official component settings if people in the next room are triggering it.
- Label the USB adapter so nobody unplugs it as a "mystery charger."
Code
Use official ESPHome, not a random Arduino sketch. Prompt for the helper:
Draft an ESPHome YAML for an ESP32-WROOM-32 with an HLK-LD2410C on UART (example: TX to GPIO 16, RX to GPIO 17).
Use the official ESPHome LD2410 component as documented on esphome.io today. Do not invent keys. Tell me to confirm VCC voltage and pin names against my module.
A YAML file that does not match the current official component will fail to compile. Trust the docs over this page if they disagree.
Troubleshooting
- No UART data: TX/RX are swapped, the module is unpowered, or you picked a pin that is not a UART pin on your board.
- Always occupied: the sensor can see a hallway, a fan, or the next room. Re-aim it and tighten the range in the documented settings.
- Never occupied when you sit still: some cheap modules need a clear view and a firmware/config tweak documented for that module.
- Wi-Fi drops: move it away from a thick metal box and a microwave, and use a 2 A USB adapter.
Files, code and docs
- ESPHome documentation (Vendor docs)
- Home Assistant (Vendor docs)
Last checked 2026-11-12. Double-check parts against your own board and seller listings before you buy.