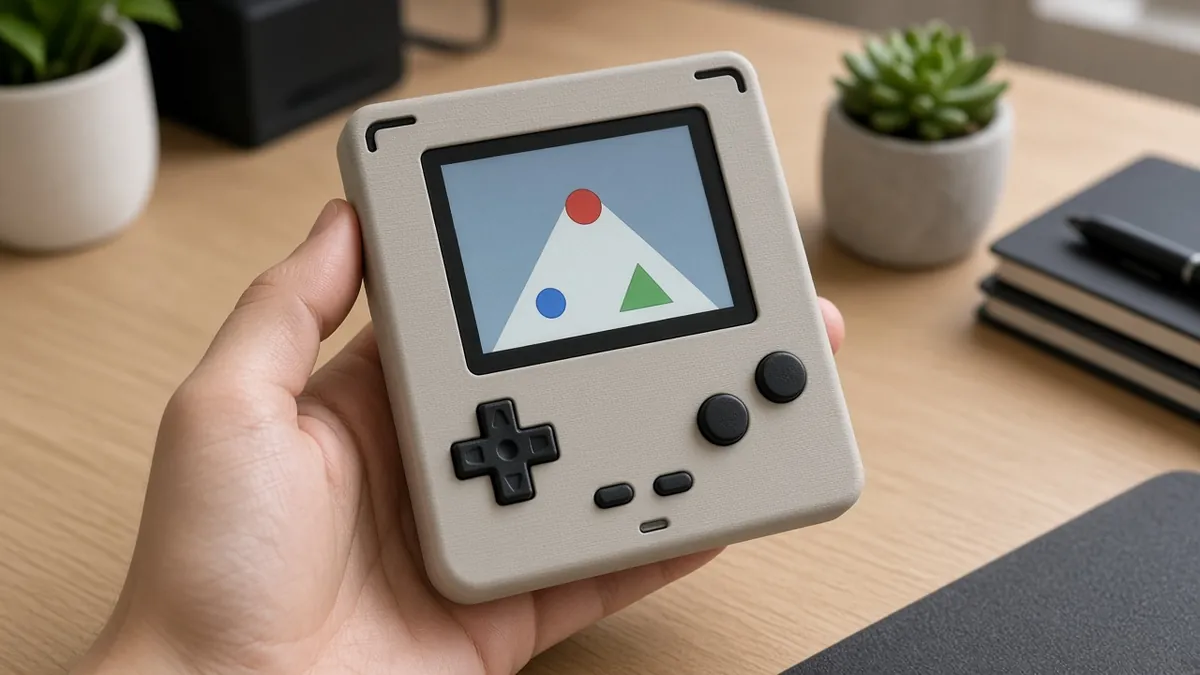
Retro handheld console on a Pi Zero 2 W
A 3D-printed handheld around a Raspberry Pi Zero 2 W, a small screen, and some buttons, running a documented emulator stack such as RetroArch or RetroPie. You only use game files you have the right to use.
Safety first
- Use a protected cell and the charger the design documents. Charge on a hard surface, not under a pillow, and stop if the pack gets hot or swollen.
- This is a low-voltage device. No mains wiring.
- Take breaks. A bright screen in a dark room is tiring. This is not a reason to ignore local screen-time or age rules for kids in your house.
Rules and laws
- Emulators and RetroArch or RetroPie themselves are not a license to download commercial games. Only use game files you have the legal right to use (for example dumps of media you own, or games published as free or officially redistributable).
- Do not ask an AI helper to find 'ROM sites'. If it offers that, stop and ignore it.
Parts
| Part | Qty | Approx. each | Subtotal |
|---|---|---|---|
| Raspberry Pi Zero 2 WA Pi Zero 2 WH (headers already fitted) is easier. Official boards were listed out of stock at this reseller. Price seen ~$17.25 on PiShop.us, Nov 12, 2026. Price seen $17.25 on PiShop.us (listed out of stock that day). Adafruit product 5291 was $19.05 and also out of stock. Amazon listings were far higher, so they were not used.PiShop.us · price seen on 2026-11-12 | 1 | $17.25 | $17.25 |
| 3.5-inch SPI or DPI LCD for Raspberry Pi (match your case design)Use the exact 2.8-inch to 3.5-inch class panel your chosen handheld design documents; a random screen will not fit. Typical $20-40, no verified link.Amazon (search) | 1 | $30 | $30 |
| Momentary push buttonOr a documented gamepad PCB. Typical $1-6, no verified link.Amazon (search) | 10 | $3 | $30 |
| microSD card, 32 GB or larger, application classTypical $8-15, no verified link this pass.Amazon (search) | 1 | $10 | $10 |
| Protected 3.7 V LiPo, 2000 mAh, 2-pin JST-PH connectorFollow the handheld design's power section. Do not improvise a bare cell. Check the JST-PH polarity matches the PowerBoost before plugging in. Typical $10-16, no verified link. Never use an unprotected cell.Amazon (search) | 1 | $13 | $13 |
| USB data cable and a breadboard or protoboardA short USB OTG cable is useful during setup. Typical $4-8, no verified link.Amazon (search) | 1 | $6 | $6 |
| Adafruit PowerBoost 1000C LiPo charger and 5 V boostCharges the cell and boosts it to 5 V for the Pi. Typical $18-25, no verified link.Amazon (search) | 1 | $20 | $20 |
| Estimated total (parts only) | $126.25 | ||
Typical US prices, checked 2026-11-12. Prices change and multi-packs are often cheaper per piece.
As an Amazon Associate I earn from qualifying purchases. Prices change; check the store.
Filament
PLA (1.75 mm): about 110 g (36.9 m), roughly 8 h of printing.
PLA, 0.2 mm layers, 20% infill, 3 walls, supports if the shell has a button well or a screen lip. Check the screen cutout against your exact panel before a long print.
AI agents you'll use
- Build helper (ChatGPT, Claude, Gemini or Grok): Helps you match a documented handheld design, screen, and power board, and follow official RetroArch or RetroPie install steps, without pointing you at illegal game files.
- Battery safety helper: Reviews that the cell is protected and that the charger and boost board match the design.
Tools
- 3D printer
- Soldering iron
- Small screwdriver
- Computer to flash the SD card
- Calipers
What you'll learn
- Assembling a Pi Zero handheld
- Flashing a documented emulation OS or RetroArch
- Wiring a GPIO or USB button pad
- The legal difference between an emulator and a game file
A Pi Zero 2 W, a small screen, and a handful of buttons will run many older systems through official RetroArch or RetroPie. The hard parts are matching a documented shell to a specific screen, and staying on the right side of game copyright.
What you'll build
A printed handheld in roughly a large-phone size, with a Pi Zero 2 W, a matched display, buttons, and a small battery if the design includes a safe power section. First boot can happen on a desk with a USB keyboard, before the shell is closed.
Print the parts
Pick one documented design (a well-known example is the Adafruit PiGRRL family, or another open-licensed "Pi Zero handheld" that lists a screen model), and credit the author. Measure your screen board before you slice. Print with the settings above.
If the file and the screen do not match, do not file the hole by eye until the image is off-center; pick another file or a screen listed in the bill of materials.
Wiring
Follow the exact design you chose. This is a role list, not a universal pin map.
| Function | Typical connection | Notes | |---|---| | Display | The SPI or HDMI pins the design documents | A mismatch here is the usual failure. | | Buttons | GPIO through the design's PCB or a documented matrix | Add a start/select pair. | | Power | The documented charger / boost / switch | Do not wire a raw cell to the Pi 5 V pin without the official path. | | USB OTG | For a keyboard during setup, then usually disconnected | | | microSD | The Pi Zero 2 W card slot | Flash official software first. |
Step-by-step
- Flash the current official RetroPie image, or install RetroArch on Raspberry Pi OS, following that project's docs for a Pi Zero 2 W.
- Boot on the desk with HDMI or the official screen hookup, a keyboard, and USB power. Confirm the OS reaches a menu.
- Solder or mount buttons only as the design shows, and test each input in the software's controller menu.
- Add the documented battery section, then do a first charge out of the shell, on a hard surface.
- Print, test-fit, and close the shell with a way to get the SD card or a USB cable later.
- Install only game files you have the right to use. Official homebrew and games you legally dumped or bought as redistributable files are the path; random archives are not.
Code
There is usually no custom sketch if you use RetroPie or RetroArch. Prompt for the helper:
Help me follow official RetroArch or RetroPie documentation for a Raspberry Pi Zero 2 W handheld, including controller setup.
I will paste the handheld design and screen I chose. Do not invent a GPIO map, and do not suggest sources of copyrighted ROMs. Remind me to use only games I have the right to use.
If you follow the Adafruit PiGRRL 2 guide, use its official wiring and software notes, not a random fork.
Troubleshooting
- White or blank screen: the display driver, offset, or ribbon is wrong. Go back to the design's screen exactly.
- Pi does not boot when on battery: the boost board cannot supply current, or the cell is too small or unprotected.
- Buttons bounce or are swapped: map them in the official controller UI; add debounce only if the design needs firmware.
- Overheating in the shell: add vents and do not leave it charging inside a closed bag.
Files, code and docs
- Raspberry Pi Zero 2 W product page (Vendor docs)
- RetroArch official site (Vendor docs)
- RetroPie official site (Vendor docs)
- Adafruit PiGRRL 2 guide (a well-known related handheld, if you follow that exact design) (Vendor docs)
Last checked 2026-11-12. Double-check parts against your own board and seller listings before you buy.