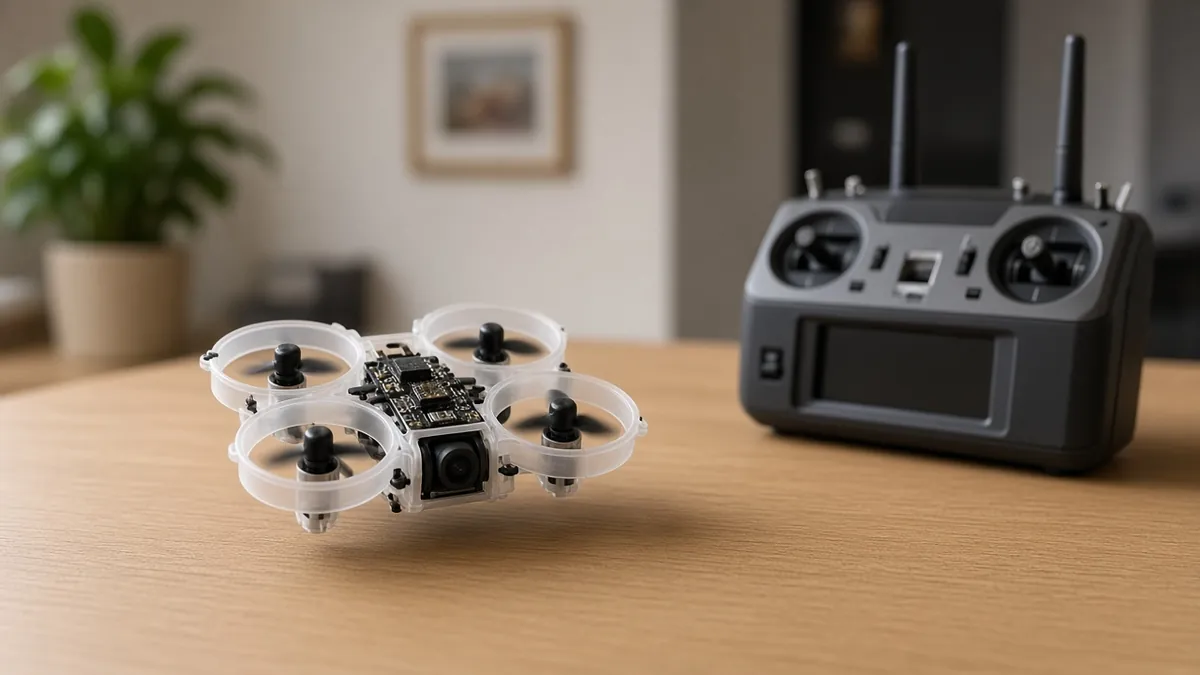
Indoor tiny whoop drone
A 65 mm or 75 mm ducted micro quad you can fly in a gym or a large indoor space, running official Betaflight on a 1S or 2S AIO board. Light, fragile, and still not a living-room toy until you can disarm instantly.
Safety first
- These props are small and still cut skin. Keep them off during USB setup. People, pets and eyeballs stay out of the flight path.
- Fly in a clear gym, basement or hall with a working, practiced disarm. A first hover over a kitchen table full of glasses is a bad idea.
- Charge 1S/2S packs with a charger that matches the chemistry and connector. Do not leave charging unattended. Do not puncture or swell-fly a pack.
- Even a whoop can be heavy enough, with a large camera, to matter under local rules - weigh it if you add gear, and do not fly outdoors in controlled airspace without checking the rules.
Rules and laws
- A typical 65 mm 1S whoop without a camera is usually under 250 g, but you should still weigh any outdoor or camera-equipped build. US outdoor recreational flights need TRUST even under 250 g; registration and Remote ID are not required if it stays under 250 g. FAA rules: https://www.faa.gov/uas
- Use legal video frequencies and power if you install FPV gear.
Parts
| Part | Qty | Approx. each | Subtotal |
|---|---|---|---|
| 65 mm or 75 mm commercial whoop frame with ductsTypical $10-20, no verified link.Amazon (search) | 1 | $15 | $15 |
| 0802-class (65 mm, 1S) or 1102-class (75 mm, 2S) whoop motorTypical $7-14, no verified link.Amazon (search) | 4 | $10 | $40 |
| Whoop AIO flight controller/ESC with a current official Betaflight targetTypical $30-55, no verified link.Amazon (search) | 1 | $40 | $40 |
| 31 mm (65 mm whoop) or 40 mm (75 mm whoop) props, packTypical $4-10, no verified link.Amazon (search) | 2 | $6 | $12 |
| 1S or 2S whoop LiPo with the connector already on your AIOMatch the connector (PH2.0 and BT2.0 are common) and the cell count. Typical $5-12, no verified link.Amazon (search) | 3 | $8 | $24 |
| RadioMaster RP1 V2 ExpressLRS 2.4 GHz nano receiverSkip if your AIO already includes ELRS. A radio is required to fly and may be a large extra cost. Typical $18-$25 each (or see pack note). ASIN confirmed. Typical $18-25. Also sold at GetFPV; that page did not show a usable price in our fetch.Amazon | 1 | $22 | $22 |
| ExpressLRS 2.4 GHz radio transmitter (e.g. RadioMaster Pocket)Skip if you already own an ExpressLRS radio. Typical $60-90, no verified link.Amazon (search) | 1 | $70 | $70 |
| Estimated total (parts only) | $223 | ||
Typical US prices, checked 2026-11-12. Prices change and multi-packs are often cheaper per piece.
As an Amazon Associate I earn from qualifying purchases. Prices change; check the store.
Filament
TPU (1.75 mm): about 10 g (3.4 m), roughly 1 h of printing.
TPU around 95A for a canopy or motor pads, 0.2 mm layers, 15% infill, usually no supports, printed slowly. Many whoops use a commercial canopy and need no print at all.
AI agents you'll use
- Betaflight helper (ChatGPT, Claude, Gemini or Grok): Walks through flashing the official target for your AIO board, motor direction, and a gentle whoop rates profile, with props off.
- Parts-matching helper: Checks frame size, motor class, prop size, cell count and battery connector against the product docs you paste in.
Tools
- Fine-tip soldering iron
- Tweezers
- Computer with official Betaflight Configurator
- 1S or 2S charger that matches your connector (PH2.0 and BT2.0 are common)
- Spare props and a prop tool or tweezers
What you'll learn
- Assembling a micro AIO whoop
- Flashing official Betaflight on a 1S or 2S board
- Connector and cell-count basics for small LiPo packs
- Flying slowly in a clear indoor space with a reliable disarm
A tiny whoop is a ducted micro quad, usually 65 mm or 75 mm diagonal, flown slowly indoors. Most of the electronics live on one AIO board. It is easier to crash without wrecking furniture than a 3-inch freestyle quad, but it is still a spinning-prop aircraft.
What you'll build
A commercial whoop frame, four micro brushless motors, an AIO flight controller with official Betaflight, several tiny LiPo packs, and optional FPV if your board includes it. A printed TPU canopy is optional.
The low end of the cost range covers a typical airframe, motors, AIO, props, a receiver and a few batteries. The high end adds a radio transmitter. Goggles are extra if you want to fly FPV.
Print the parts
If the stock canopy is fine, skip printing. Otherwise search Printables or Thingiverse for a canopy that matches your frame name, credit the designer, and print slowly in TPU. Expect only a few grams of filament; confirm in your slicer.
Wiring
Most connections are already on the AIO. You usually solder four motors and plug in the battery. Use your board's official pad diagram.
| Function | Typical connection | Notes | |---|---| | Motors 1-4 | AIO motor pads | Check Betaflight motor order with props off. | | Battery | The AIO connector (often PH2.0 or BT2.0) | Do not mix 2S into a 1S-only board. | | USB | The AIO USB port | Props off whenever it is plugged in. | | Optional camera / VTX | Board camera and VTX pads or a plug | Antenna on before you transmit. | | Optional external receiver | A UART as documented | Many whoop AIOs already include ELRS. |
Flash official Betaflight for the board's official target.
Step-by-step
- Buy a matched set: frame size, motor class, prop size, AIO cell count and battery connector all from current product docs.
- Solder the motors, inspect for whiskers and bridges, and mount the AIO in the frame with the supplied hardware or pads.
- Flash official Betaflight, bind the radio, and set failsafe and motor direction with props off.
- Add a conservative whoop rates profile. You can tighten it later.
- Fit props in the correct rotation, charge a pack on the correct charger, and check that disarm is on a switch you can find instantly.
- Maiden in a clear indoor space, hover a few inches up, and land. Listen for a scraping duct or a damaged prop.
- Only then add or aim an FPV camera, still in a clear space.
- After crashes, check motor shafts, ducts and the pack before you fly again.
Code
Official Betaflight, not an Arduino sketch.
Prompt for the helper:
Walk me through flashing official Betaflight to a 1S or 2S whoop AIO, checking motor direction with props off, binding ELRS, and setting a gentle indoor rates profile and failsafe.
I will paste the official board target name. Do not invent a CLI dump or PID set.
Troubleshooting
- Board not recognized over USB: try a data cable, a different USB port, and the boot-button procedure in your AIO manual.
- It flips on takeoff: a motor is reversed or in the wrong corner, or a prop is on backwards.
- Runtime is only a few seconds: a damaged pack, a motor that is binding in a duct, or the wrong cell count.
- Connector mismatch: PH2.0 and BT2.0 are not interchangeable. Do not force them.
Files, code and docs
- Betaflight firmware (official repository) (GPL-3.0)
- Betaflight project site (Vendor docs)
- FAA Unmanned Aircraft Systems (Vendor docs)
Last checked 2026-11-12. Double-check parts against your own board and seller listings before you buy.